

Install a fire suppression device (sprinkler / cease fire)
DANGER:
Always disconnect the pod from the power outlet
before you begin disassembly, maintenance, moving, or any other procedure.
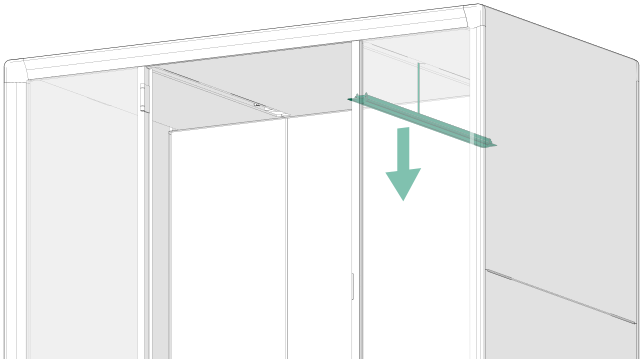
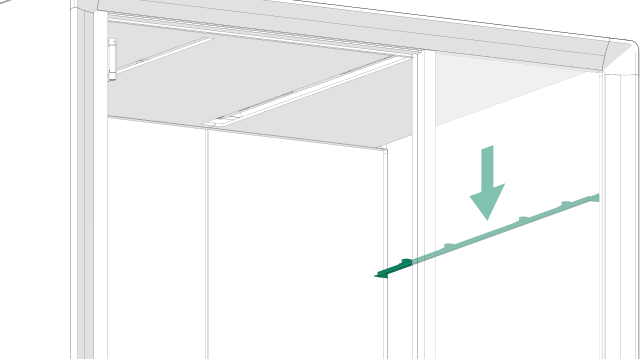
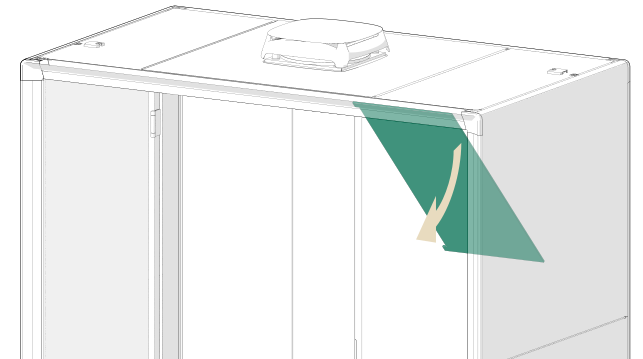
When installing a sprinkler or a stand-alone fire suppression device (e.g., a cease fire), follow this installation procedure before moving on to section 4.1 or 4.2.
-
-
-
-
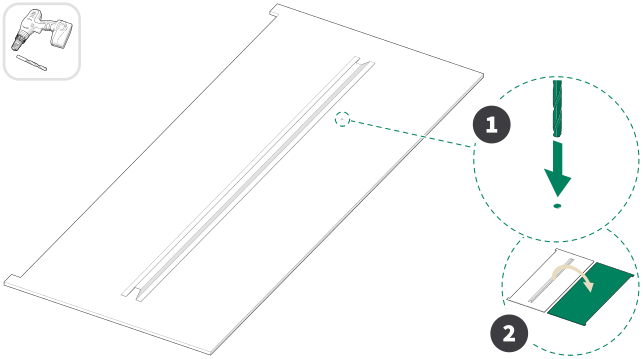
Locate the mark on the inner side of the ceiling
interior panel. Drill a pilot hole through the panel. Flip the panel over.
-
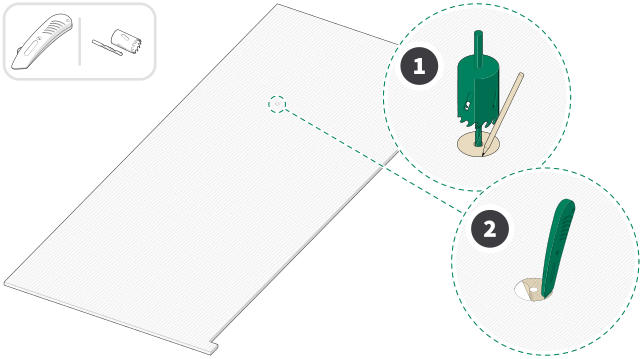
With the fabric side of the panel facing upwards,
locate the pilot hole and insert the pilot bit of the hole saw into the hole.
Trace a larger circle with a pencil using the hole saw as a guide. Use a utility
knife to cut along the marked circle.
Note:You must cut the fabric using a utility knife. Using a hole saw on the fabric could damage the entire panel. Cut the fabric with a utility knife and remove the fabric before moving to the next step.Note:Cut a hole to the ceiling interior panel according to the size of the sprinkler head.
-
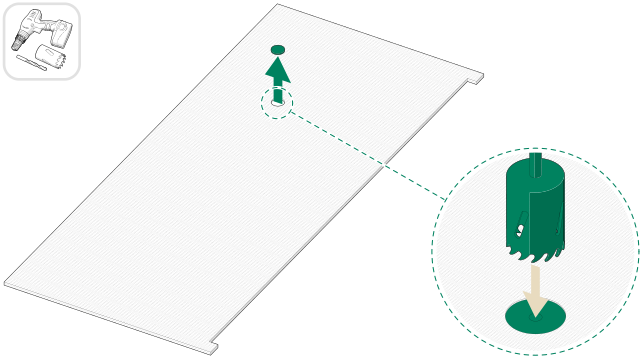
Finish the cut through the PET felt backing using
the hole saw.
-
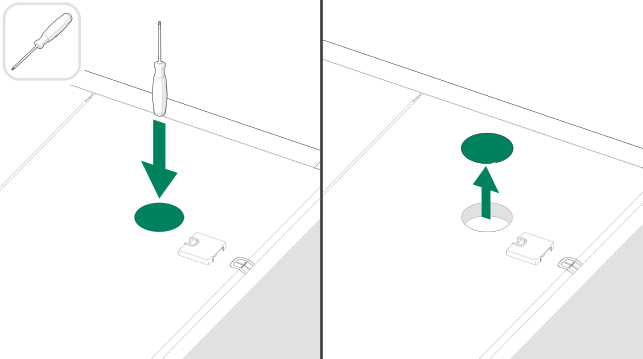
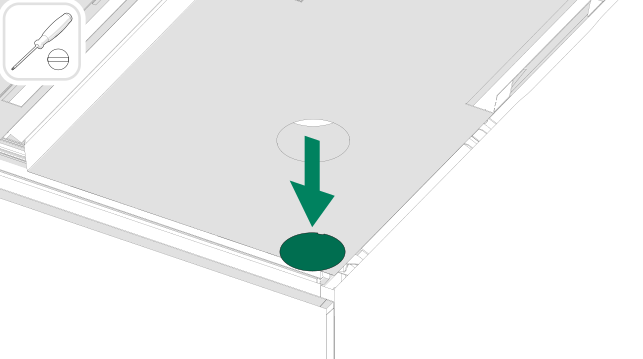
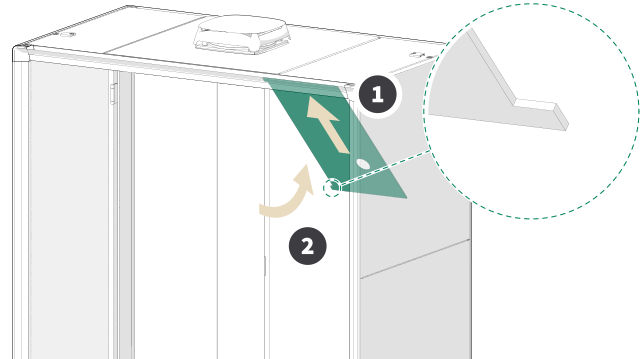
Punch out the precut flap in the roof. Use a soft
mallet or the handle end of a screwdriver.
-
-
-
-
If installing a sprinkler, see Section 4.1 "Install the sprinkler (hard pipe or flexible pipe)".
If installing a stand-alone fire suppression device (e.g., a cease fire), see Section 4.2 "Install the cease fire".