

Install the seismic anchoring
-
Place the template at the intended final location
of the pod.

-
Using the holes in the template as reference,
drill holes for the anchors.
Verify the required hole depth with anchor guidelines.

- Clean or vacuum the drilled holes according to the manufacturer's guidelines.
-
Insert all four anchors into the holes. Following
the manufacturer's guidelines, hammer the anchors into the drilled holes,
careful not to hammer too hard as this can damage the threads of the
bolts.
Note:The anchors must protrude between 5/8 in - 1 in from the floor level.

- Install the washer and nut for the wedge anchor and torque to manufacturer's specifications.
-

-

-

-
If the pod has been specified with optional
casters, raise the leveling feet until the feet are 1/4 in off the ground.
Carefully push the pod to the final location.
If the pod does NOT have casters, first ensure that the leveling feet are extended at least 1-1/8 in from the ground and then carefully insert furniture skates under the pod, or place glides under the leveling feet to allow the pod to be pushed into place.

-
Screw out the pod leveling feet so that the pod
stands on its feet. Level the pod.

-
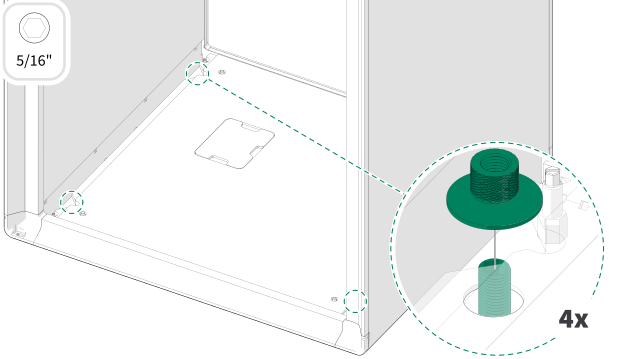
Install the earthquake sleeve onto the top of the
wedge anchor threads. After all four earthquake sleeves are installed, torque to
manufacturer's specifications.

-
Install the four anchor nuts onto each of the earthquake sleeves. Hand tighten
each nut to the pod.
 Once all four anchors are installed, the pod can be reassembled.
-

-
